Label Printer Fun for the Framework 16
📅 🏷featuredTL;DR
The framework 16’s six expansion card slots have different capabilities, for example some can do display out, and some draw more power with a USB-A expansion card. I kept having to look up the compatibility info in the user guide, so instead I printed some handy-dandy stickers with my label printer and attached them to the bottom of the laptop.

the bottom side of my framework 16 laptop with compatibility label stickers added next to all 6 expansion card slots to indicate which ones support USB4, Display output, 240W Charge, and which ones have high power consumption for USB-A
Adapting the Images
The official framework 16 guide has an image of what expansion card slots support what features. However, it’s a bit too wide for my Brother QL-800 label printer, and a bit low resolution.
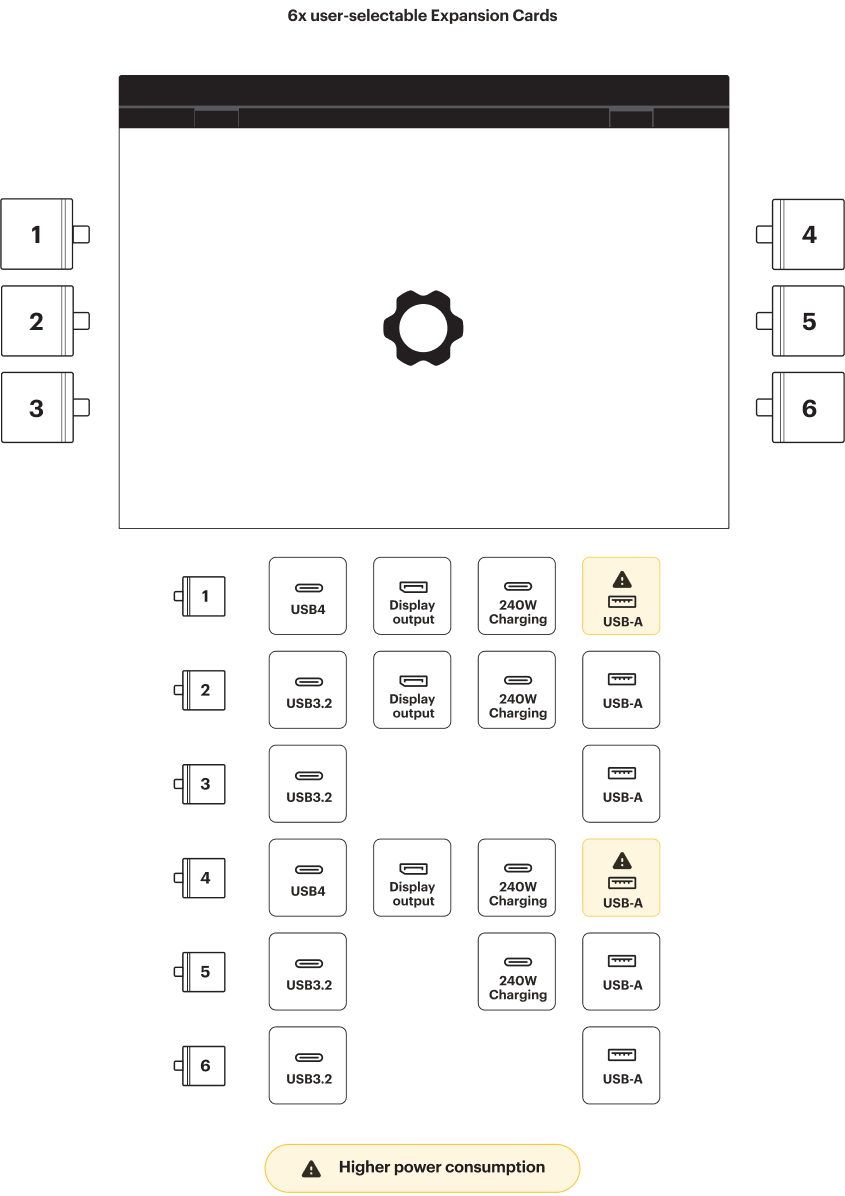
So I decided to redraw it in inkscape to fix both of these problems. But first I made a mockup in krita by just selecting and moving parts of the image to get an idea of what I wanted the final to look like. Notice the “Charging” was changed to “Charge” to fit within the smaller width boxes.
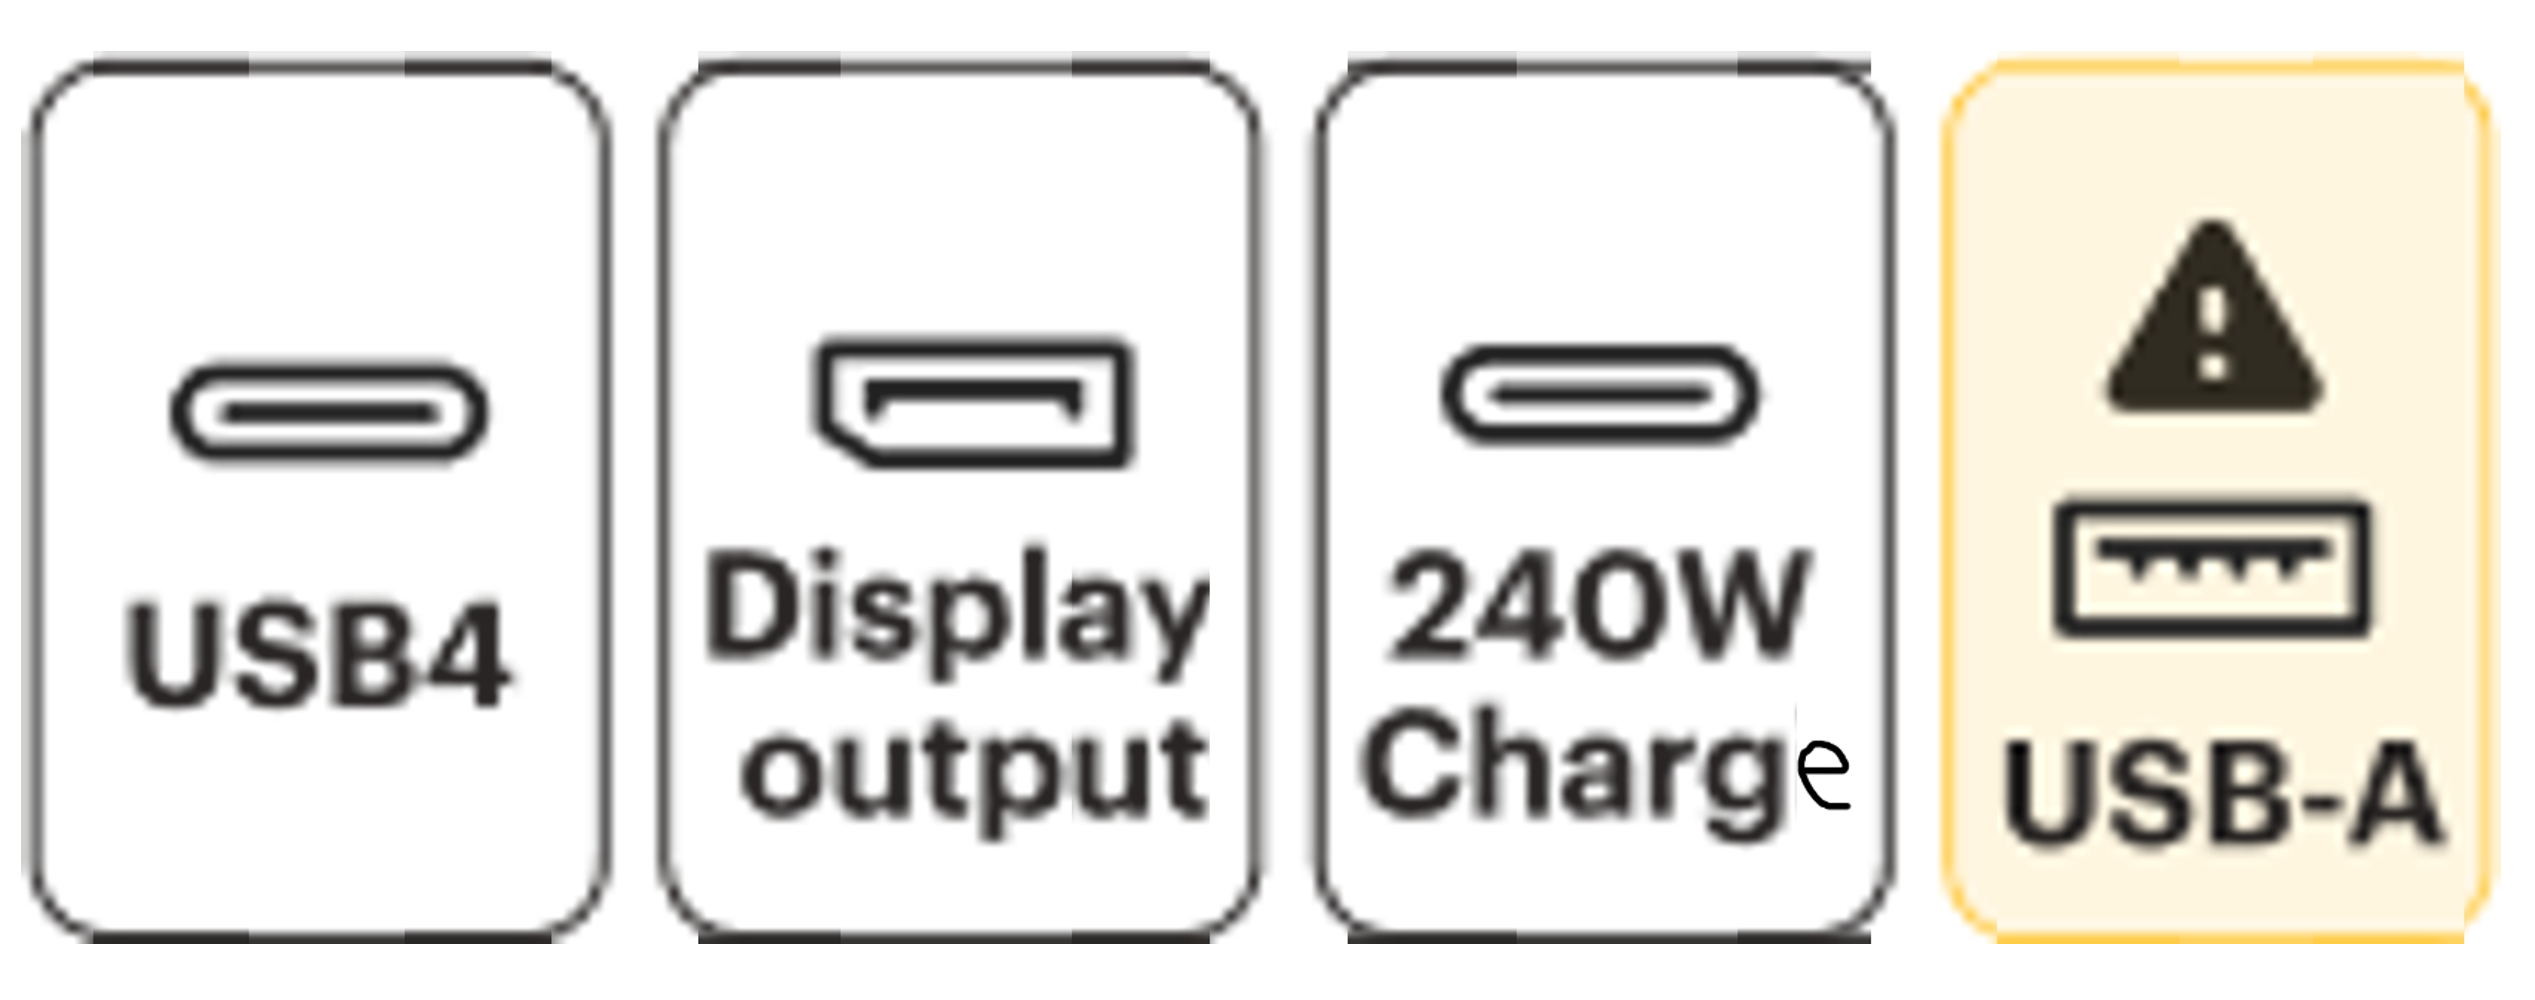
Then I used inkscape to make more accurate SVG vector drawings, using the draft image as a guide. I even looked at the exact coordinates and size of the boxes to line them up perfectly, as well as using inkscape’s built-in alignment features. I also flipped the 3 labels that would be on the right, to make it more symmetrical.


Lastly I went the extra mile and designed a label that would explain what the “!” on the USB-A ports meant, even though that is easy enough for me to remember.

You can download this zip file with all the SVG’s and PNG’s if you want to print your own.
Printing the Label Stickers
Printing with the QL-800 is a bit quirky on Linux. First, set up a python virtual environment and install the brother_ql library and dependencies. You only have to do this once:
mkdir QL-800-print
cd QL-800-print
python3 -m venv .venv
source .venv/bin/activate
pip install pillow==9.5.0 brother_ql
Then you can run this anytime you want to print. Put this part in a script, I just called it print.sh. Put it in the same directory as the .venv that you created earlier:
#!/bin/bash
source `dirname $0`/.venv/bin/activate
printer=`ls /dev/usb/lp*`
sudo chmod 777 "$printer"
export BROTHER_QL_MODEL=QL-800
export BROTHER_QL_PRINTER=file://"$printer"
brother_ql print -l 62 --red $@
Then run the script with the images you want to print and the QL-800 will print and cut each one separately, for example:
./print.sh slot1.png slot2.png slot3.png slot4.png slot5.png slot6.png
Note: when attaching the labels, make sure to account for the fact that the reference image in the guide is show when viewed from the top, and it will be reversed when viewed from the bottom.
Final Result

the bottom side of my framework 16 laptop with compatibility label stickers added next to all 6 expansion card slots to indicate which ones support USB4, Display output, 240W Charge, and which ones have high power consumption for USB-A

just the left side
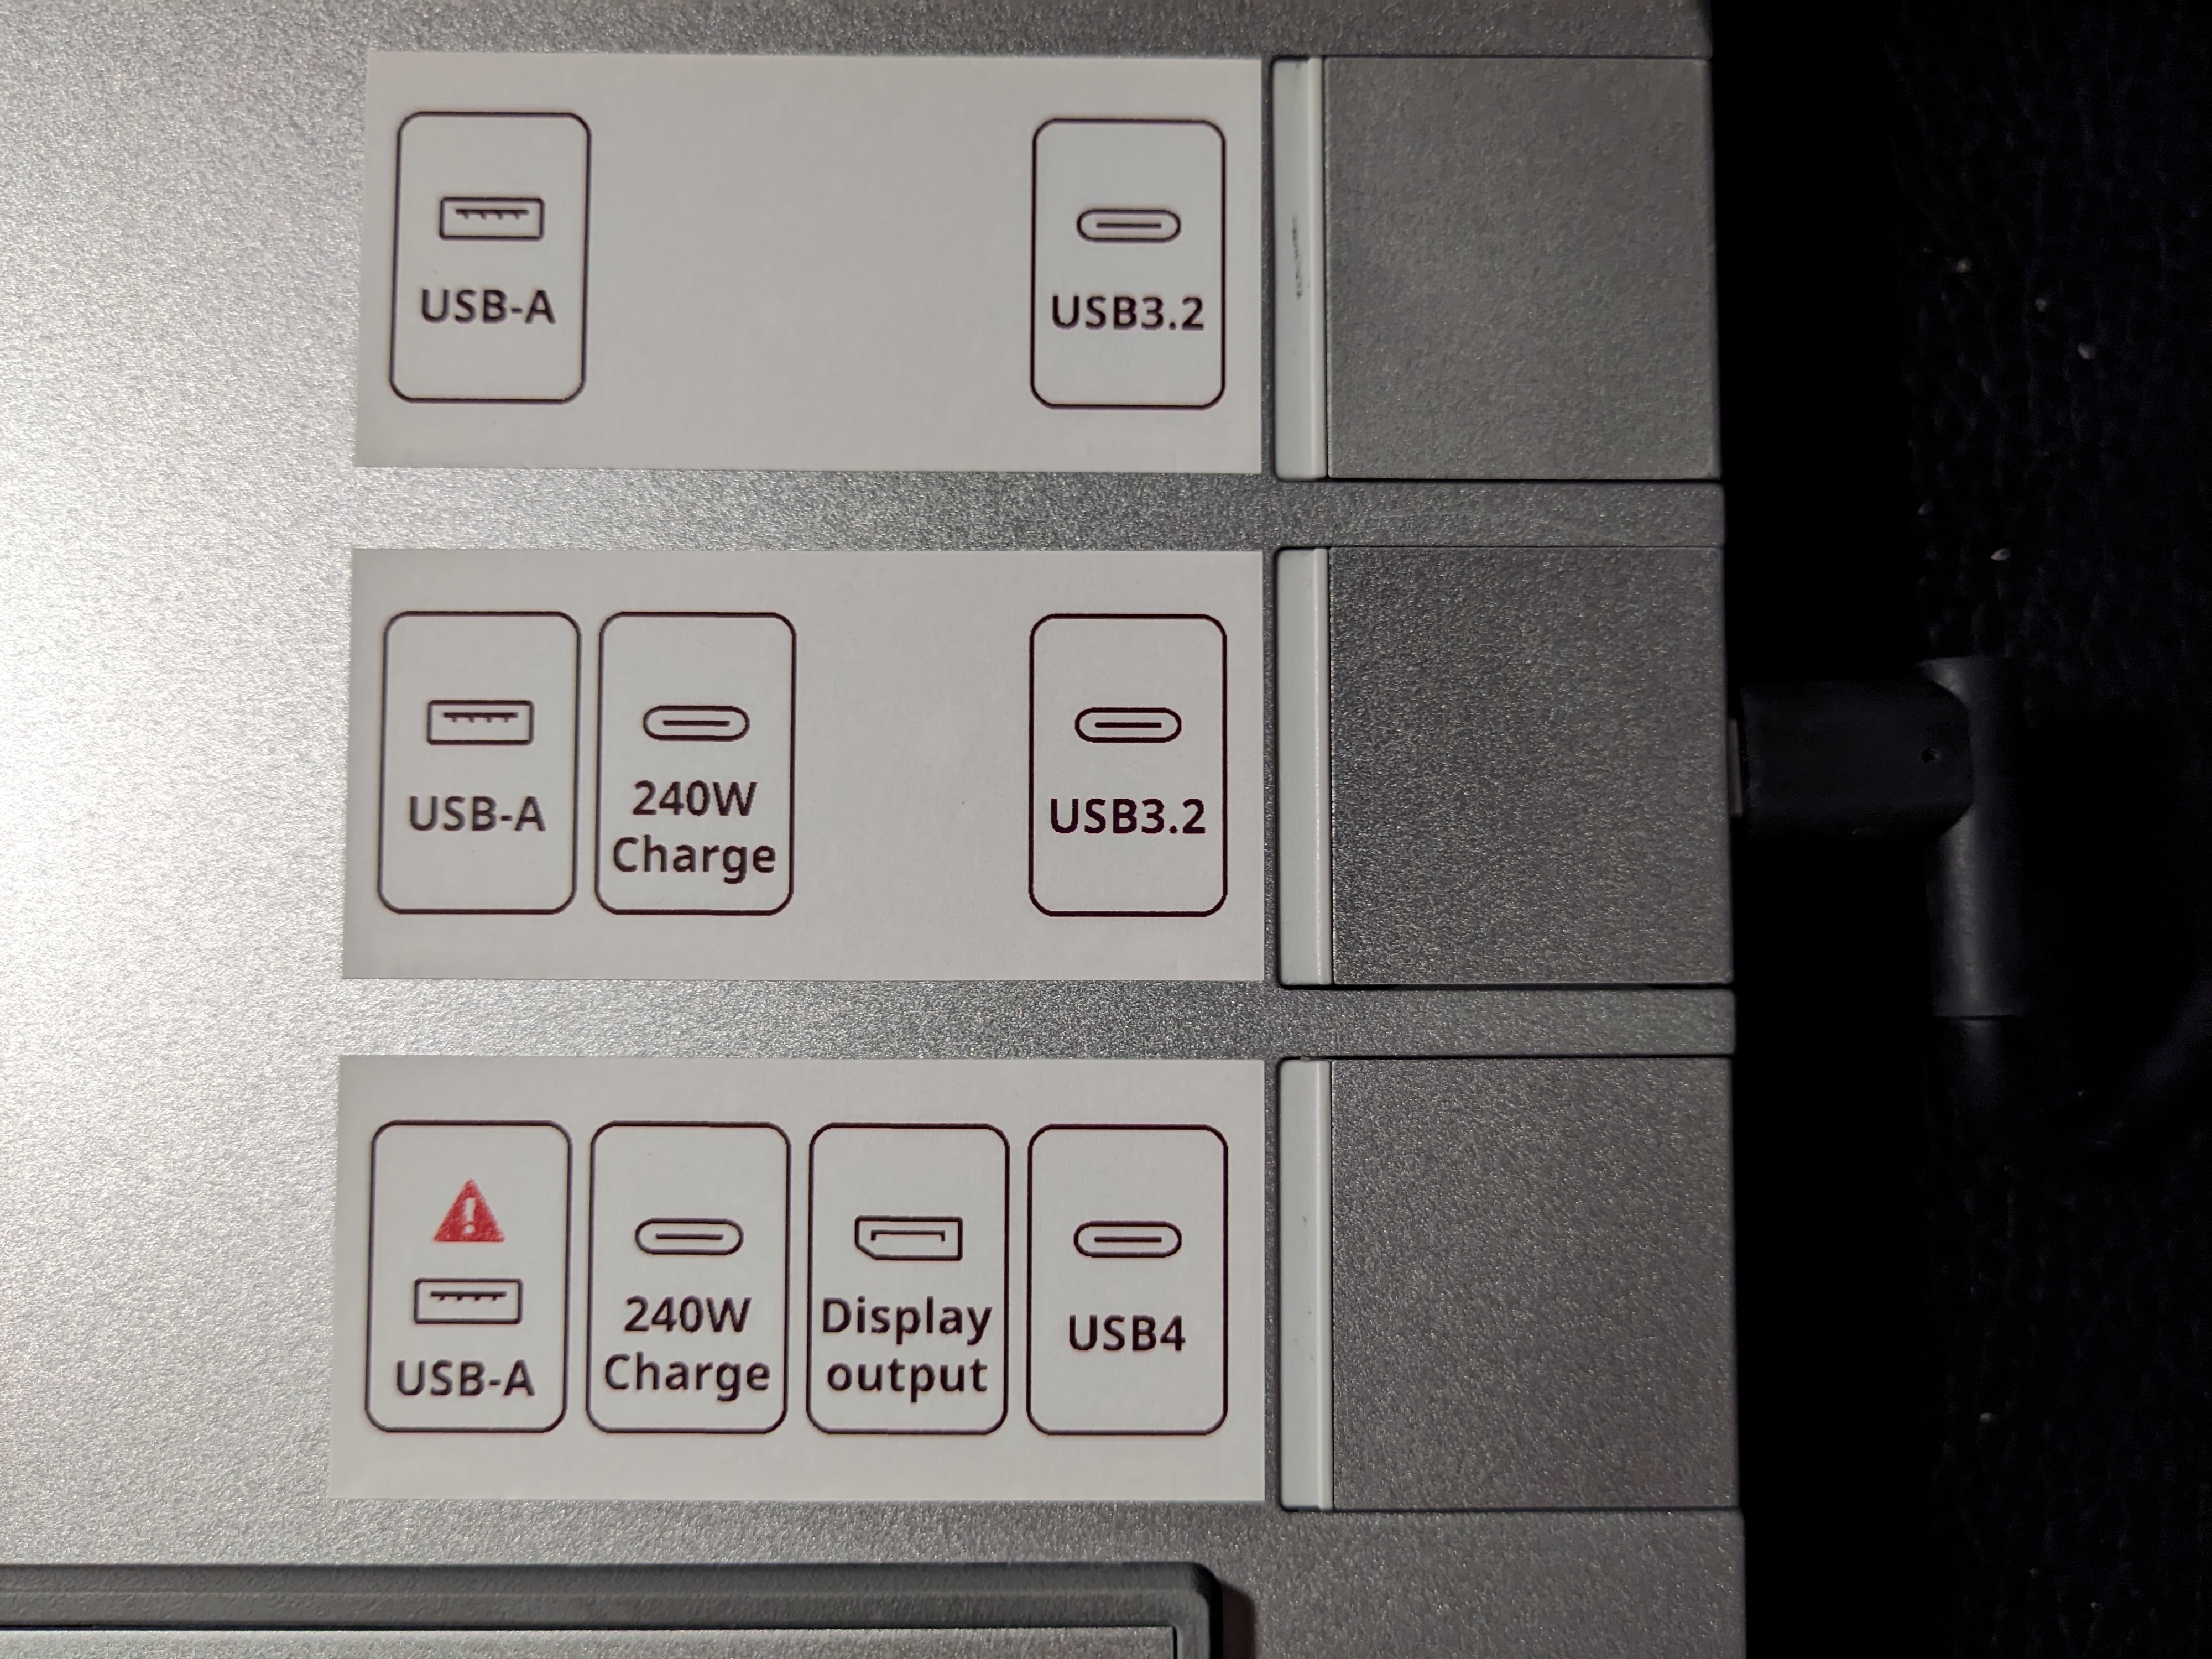
just the right side
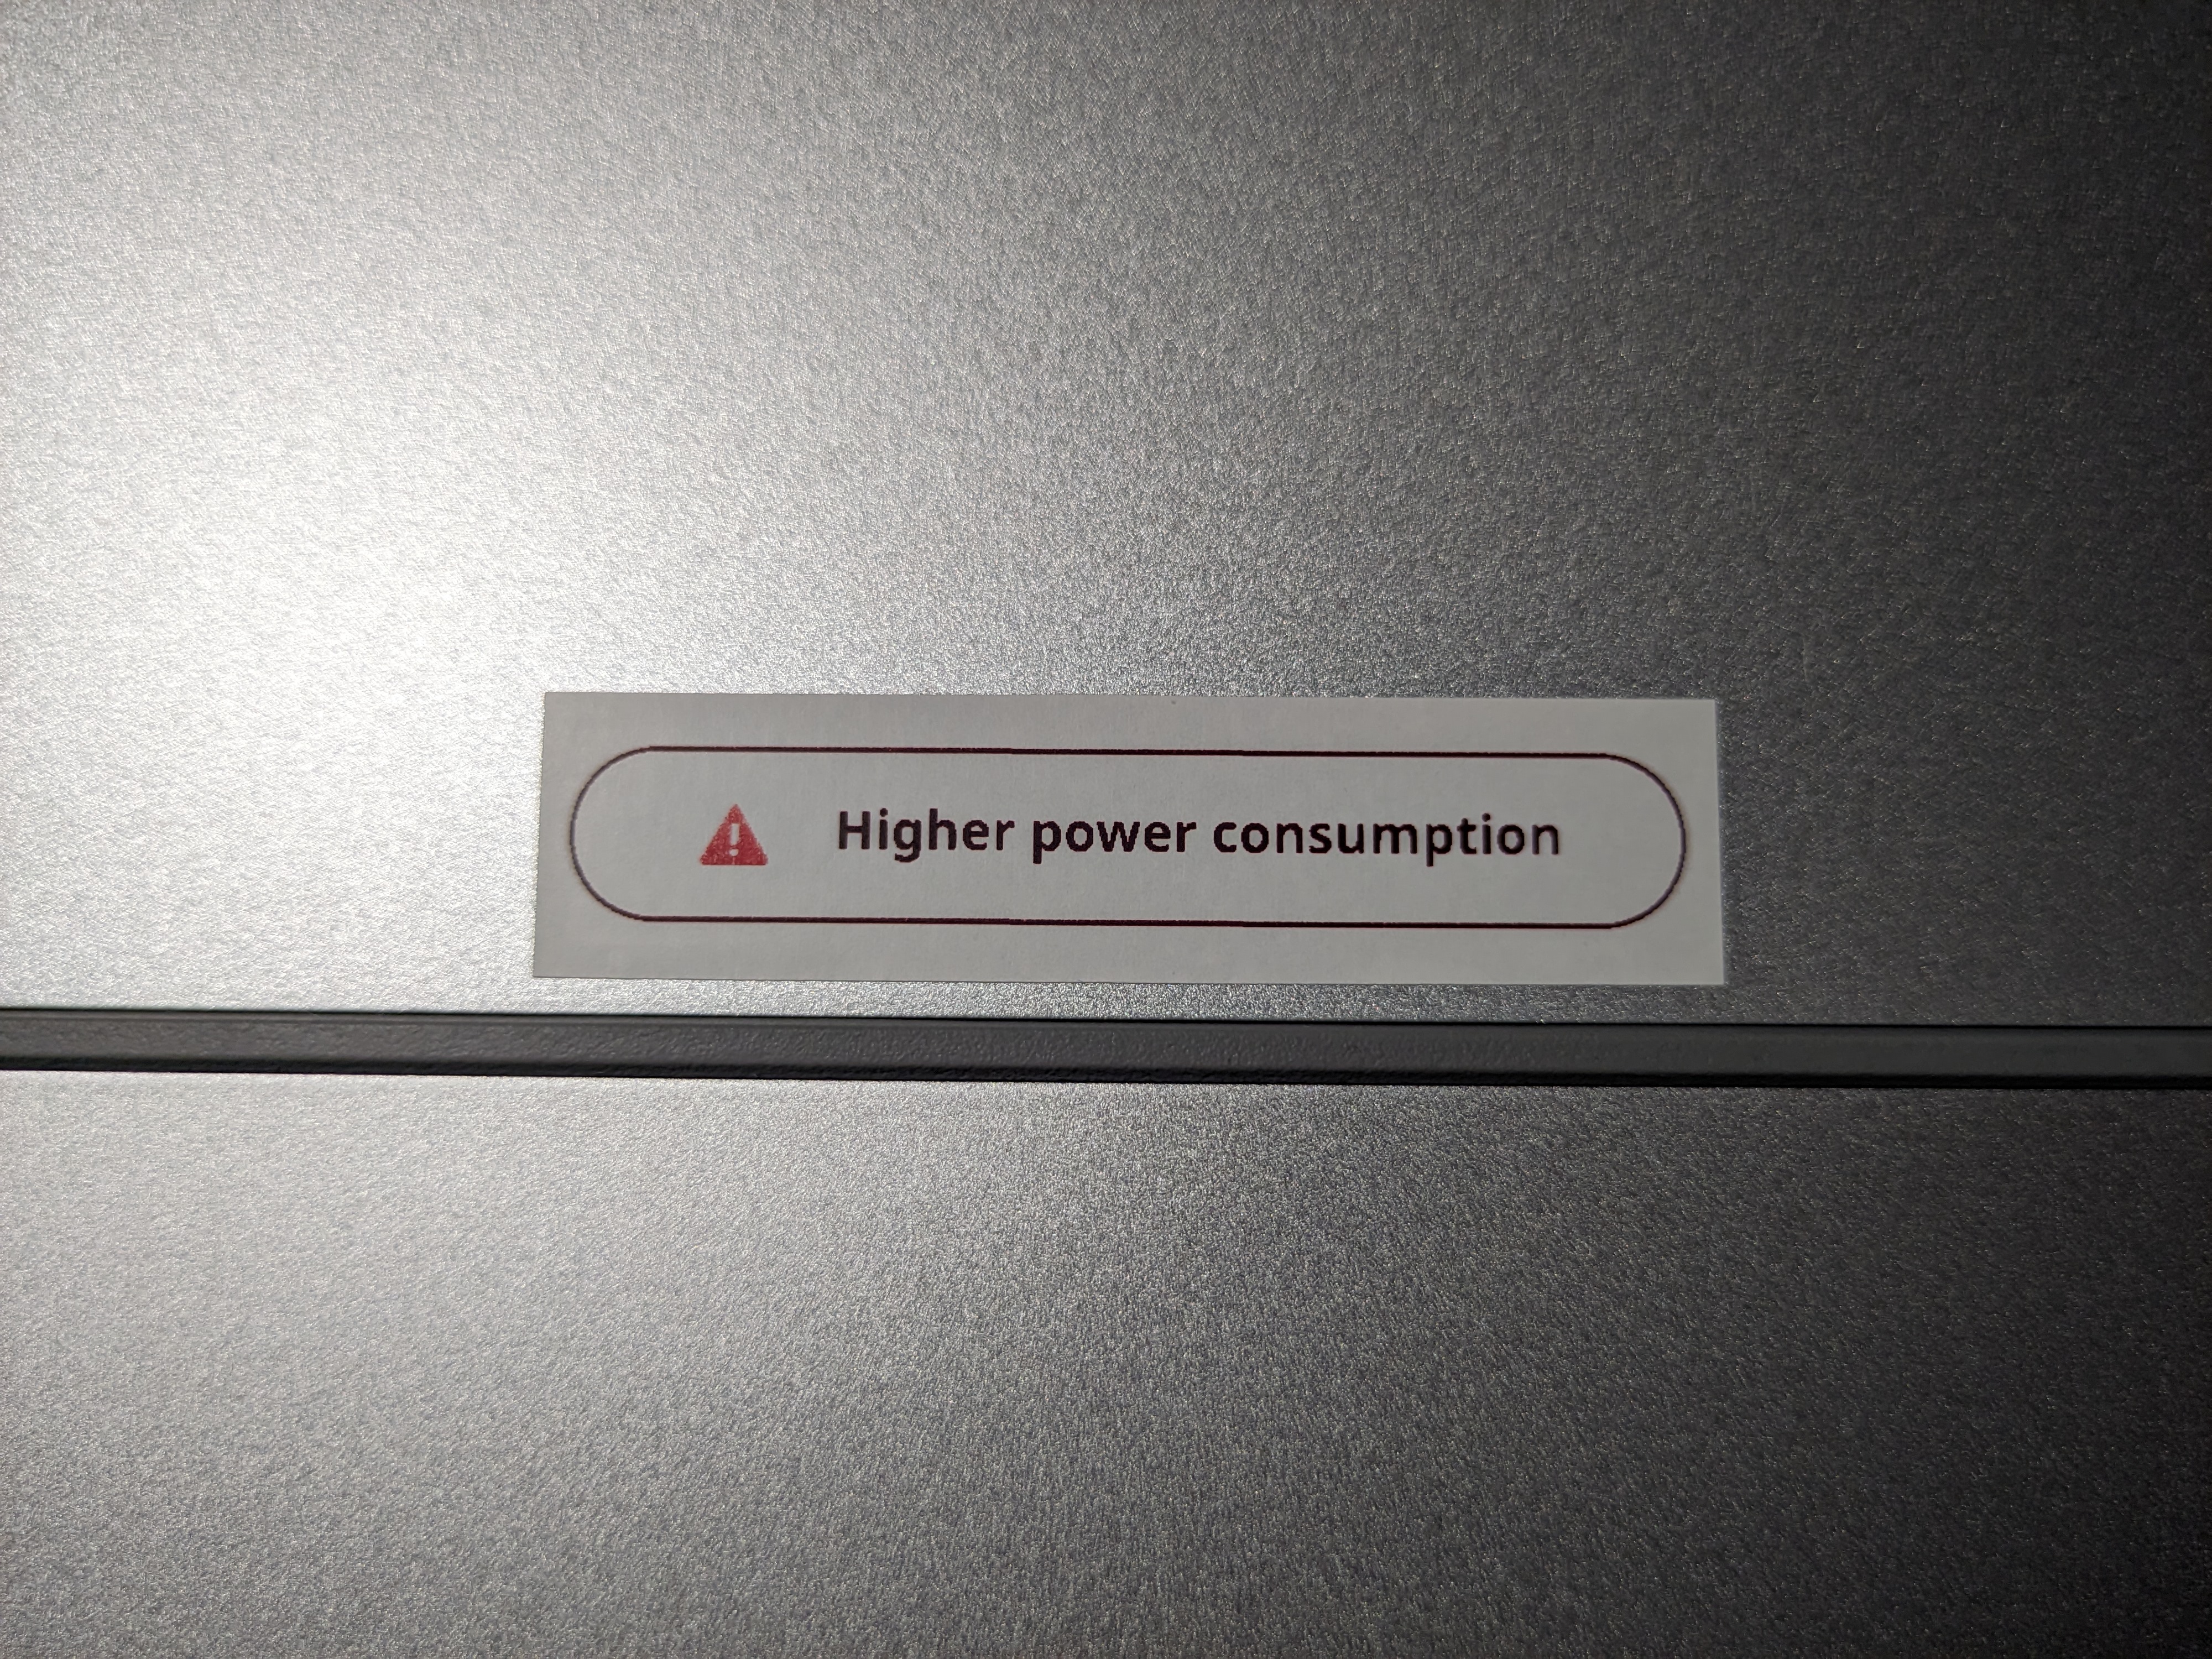
just the USB-A “high power consumption” warning label
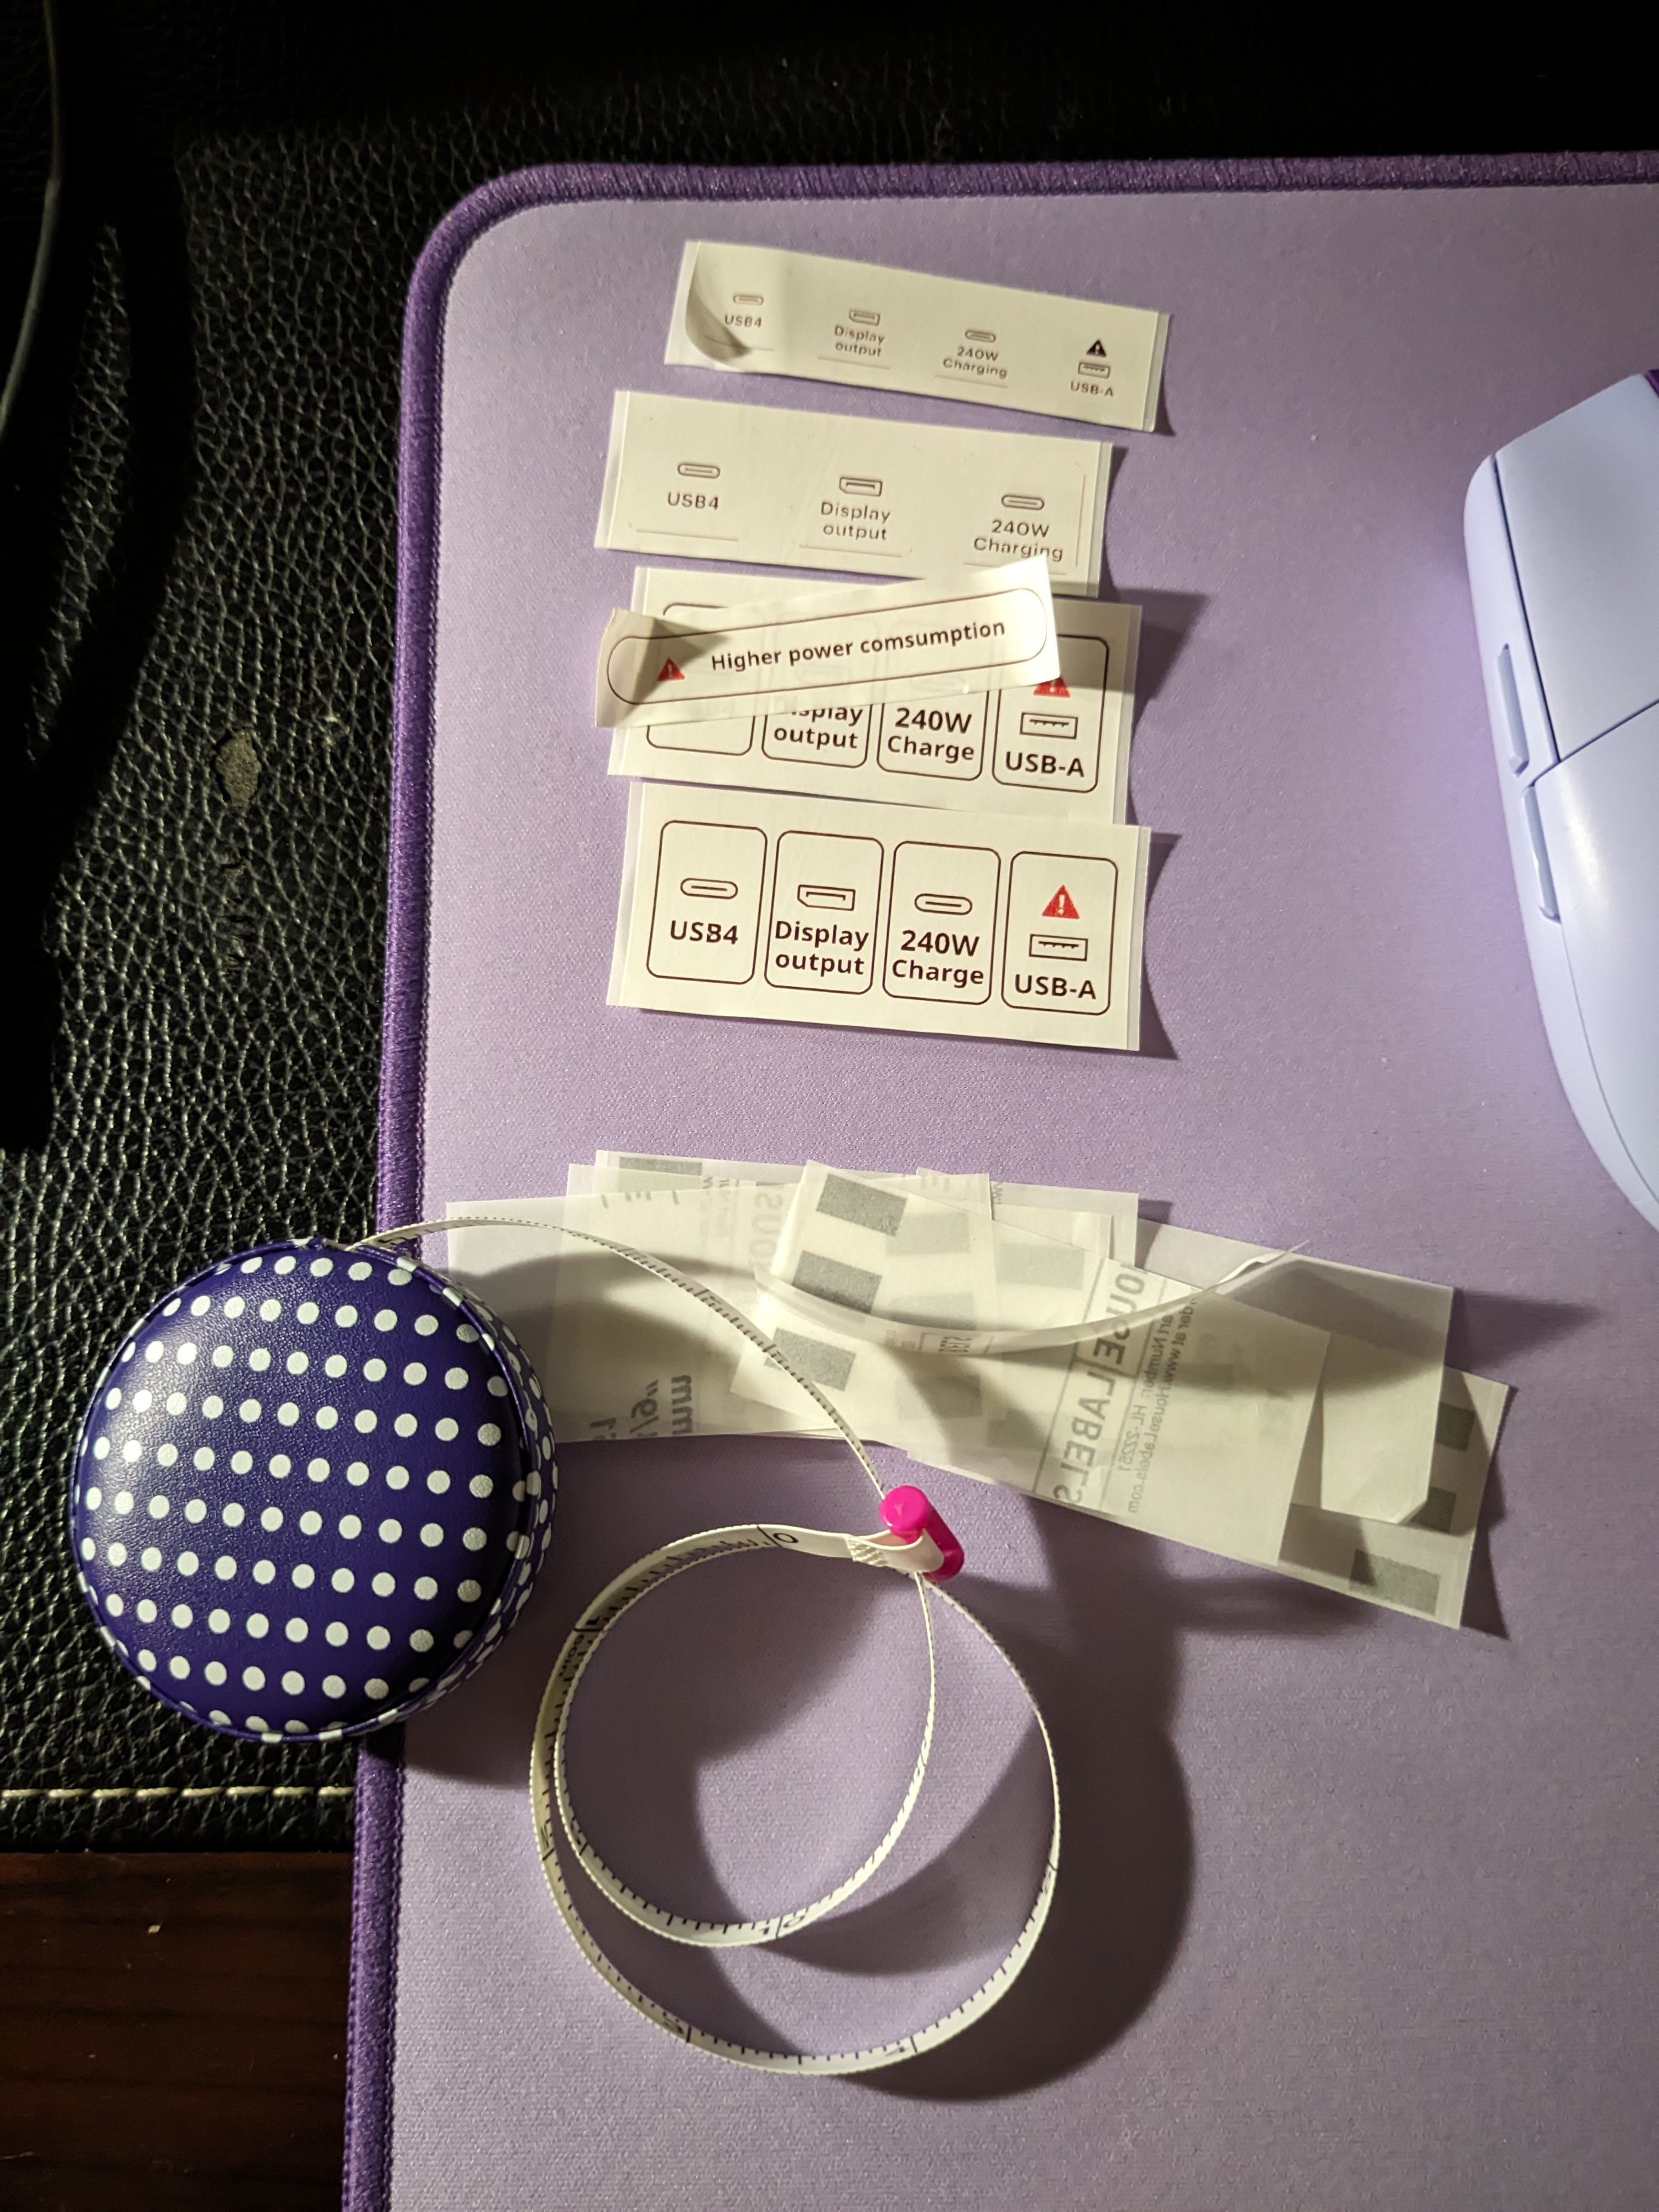
extra labels from prototyping and proto… typoing
Thanks for reading, if you do this yourself let me know on mastodon or by email!